 VSCode 使用Settings Sync同步配置(最新版傻瓜教程)
type
elog
tags
category
date
description
updated
Jun 25, 2024 01:34 PM
password
permalink
slug
icon
准备工作
正常运行的VSCode,以及一个gitHub账号
安装Settings Sync
点击VSCode的插件栏搜索Settings Sync然后安装

安装完之后会弹出一个登陆界面,这里点击login with github

点击后会自动弹出一个登陆页面,登上你的github账户即可

如果你之前有用过setting sync的话,这里会自动显示你最近使用的的gist id (貌似vscode insiders支持更好一点)

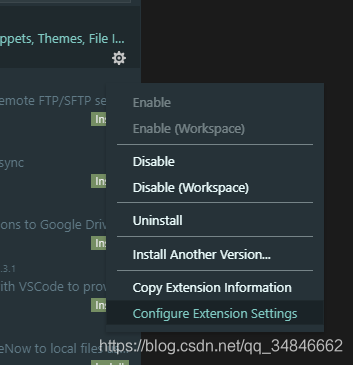
如果没有自动添加gist id的话就手动点击插件的设置添加gist


这里如果你是在vscode insider下面第一次使用这个软件,不用去创建什么gits Tonken,直接F1或者ctrl + shift + p搜索sync 再选择 Sync: Upload / Update Settings 后会直接生成一个gits id(记得存好这个id 将来可能用的是)

然后会自动上传你当前的插件及设置信息,点开插件栏选择此插件的设置就可以看到自动生成的gits id了,保存好这个id 在其他的的电脑上就可以使用这个id同步设置了,
如果你不是很熟练使用这个的话,或者插件更新的不频繁的话,我个人建议关掉自动同步,自己手动上传和下载设置

欢迎您在底部评论区留言,一起交流~
Loading...
Last update: 2019-08-18